
You’ve signed the lease. The keys are in your hand. And now the movers are standing in your empty living room asking where the couch goes — but you haven’t figured out which wall has the cable outlet. That moment costs you $75 in mover overtime fees and another $40 in emergency takeout because the stove isn’t hooked up.
I’ve moved six times in eight years. The first four were disasters. The last two cost me less than $200 in unexpected expenses combined. The difference wasn’t luck. It was a checklist that covered the things nobody tells you about — the utility transfer deadlines, the packing order that prevents box avalanches, and the one phone call that saves you $500.
Step 1: The Utility Transfer Window You Cannot Miss
Most people call the utility company the day before moving. That’s a mistake. Utility companies have 48-hour scheduling windows. If you call Friday afternoon for a Saturday move, you’re paying a $75 rush fee.
Call 14 days before move-in. That’s the sweet spot. You confirm the transfer date, avoid rush fees, and get a confirmation number. Write it down.
Which utilities need transferring
Electricity, gas, water, internet, trash pickup. That’s five calls. Do them in one sitting. Google Fiber and Xfinity both offer self-install kits that ship free. Order them 10 days ahead. The kit arrives, you plug it in, no technician visit. That saves you the $100 installation fee.
The one utility people forget
Trash and recycling. Your new city might have a different schedule. Miss the first pickup and you’re storing bags in your garage for a week. Call the local waste management office. Ask: pickup day, bin placement rules, and whether they charge for extra bins. Most cities offer free recycling bins if you request them.
Step 2: Packing Order That Prevents Box Avalanches
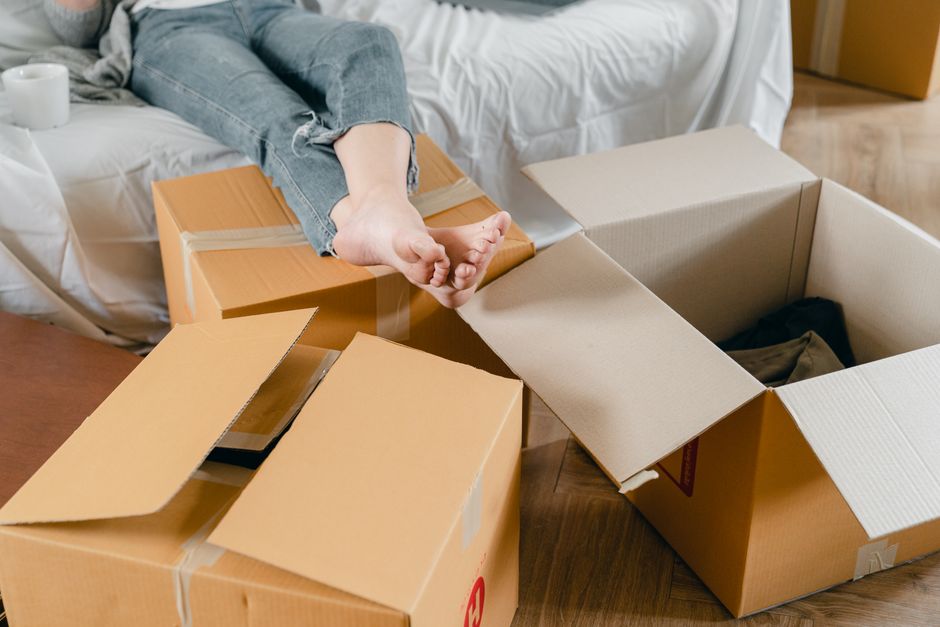
Here’s the packing order that actually works. Not the generic “pack room by room” advice. The specific sequence that keeps you from digging through boxes at midnight.
Week 1: Pack everything you haven’t used in six months. Seasonal clothes, holiday decorations, books you’ve already read. Label these boxes with a black marker on all four sides — not just the top. When boxes stack, you can’t see the top label.
Week 2: Pack kitchen items you don’t use daily. The stand mixer. The extra pots. The fancy wine glasses. Wrap glasses in dish towels, not newspaper. Newspaper ink transfers onto glass and takes forever to clean.
Week 3: Pack bedroom items except your bed linens and one week of clothes. Leave out: your bedding, your toothbrush, three outfits, and your phone charger. These go in a single “open first” box.
Moving day morning: Pack that “open first” box. It contains: bed sheets, pillow, one towel, toiletries, phone charger, power strip, scissors, a roll of toilet paper, and a change of clothes. That box stays in your car, not the moving truck.
Step 3: The Hidden Fees Most Movers Don’t Mention
Moving companies charge fees that aren’t on the quote. You need to ask about them before you sign.
| Fee Type | Typical Cost | How to Avoid It |
|---|---|---|
| Stair fee | $50–$150 per flight | Ask if the quote includes stairs. Some companies charge per step. |
| Long carry fee | $75–$200 | Measure the distance from truck to door. Over 75 feet triggers this fee. |
| Bulky item fee | $50–$100 per item | Disassemble furniture yourself. Movers charge extra for disassembly. |
| Parking permit fee | $25–$100 | Check with your new city’s parking authority. Some require permits for moving trucks. |
Ask for a binding estimate. That locks the price. Non-binding estimates can increase by 30% on moving day. Also ask: what’s the overtime rate? Most companies charge time-and-a-half after the first hour of delay.
Step 4: The First 24 Hours in Your New Home

The movers leave. You’re standing in an empty apartment with boxes everywhere. What do you do first?
Set up your bed. Not the kitchen. Not the living room. Your bed. You will be exhausted. A made bed with clean sheets is the difference between a good night’s sleep and sleeping on a pile of coats. IKEA sells a mattress-in-a-box that fits most bed frames. It’s $199 for a twin. Order it three days before move-in and it arrives the day you do.
Unpack the bathroom. Toilet paper, hand soap, towel, toothbrush. That’s four items. Put them in the bathroom before you do anything else. You will need them within the first hour.
Connect the internet. If you ordered the self-install kit, plug it in now. No internet means no streaming, no GPS for finding the nearest grocery store, and no way to call your mom and tell her you arrived safely. Google Fiber and Xfinity both have self-install kits that take 15 minutes.
Walk the entire space with a phone camera. Film every wall, every corner, every scratch on the floor. This is your move-in condition documentation. Landlords use move-out inspection photos to deduct from your security deposit. Your video is your evidence. Upload it to cloud storage immediately.
Step 5: The $500 Phone Call You Need to Make
Here’s the move-in secret that nobody talks about: call your insurance company the day you move in.
Renters insurance costs $15–$25 per month. If you bundle it with your auto insurance, you save 10–15% on both policies. That’s $200–$500 per year. The phone call takes 10 minutes.
What does renters insurance cover? Theft, fire, water damage from burst pipes, and liability if someone gets hurt in your apartment. Your landlord’s insurance covers the building, not your stuff. Your laptop, your TV, your bicycle — none of it is covered unless you have your own policy.
Ask your agent about replacement cost vs. actual cash value. Replacement cost pays for a new item. Actual cash value subtracts depreciation. The difference on a three-year-old laptop is about $400. Replacement cost costs about $5 more per month. Choose replacement cost.
Step 6: The One Thing You Should Not Unpack

This sounds counterintuitive, but here it is: do not unpack your full kitchen.
You will eat takeout for the first three nights anyway. Everyone does. Unpack only what you need for the first week: one pot, one pan, one knife, one cutting board, two plates, two bowls, two sets of utensils, and a coffee maker. Everything else stays boxed.
Why? Because you will reorganize the kitchen three times in the first month. You’ll realize the pots should go next to the stove, not above it. The spices belong in the drawer by the microwave, not the cabinet over the sink. If you unpack everything on day one, you’re unpacking it all again in week three.
Leave the boxes labeled “kitchen — extra” in a corner. Unpack them after you’ve lived in the space for two weeks. By then, you’ll know exactly where everything belongs.
The same rule applies to closets. Hang only your current-season clothes. Store the rest in boxes labeled by season. When the weather changes, swap boxes. It takes 20 minutes instead of three hours of reorganizing.
This single rule — unpack only what you need immediately, leave the rest for later — is the difference between a move that feels chaotic and one that feels manageable. It’s also the rule that saves you from buying duplicate items because you can’t find the one you already own.